I recently bought a secondhand Mountain Buggy Duet pushchair from eBay. I didn't want to spend a fortune as Totsy is already past two and doesn't use a pushchair much now, but still needs one for longer walks, like our school run which is a 30 minute walk each way. After lots of research I decided on the Duet and bid on a few before finally getting one for £200 (much better than the £550 price tag for a new one!)
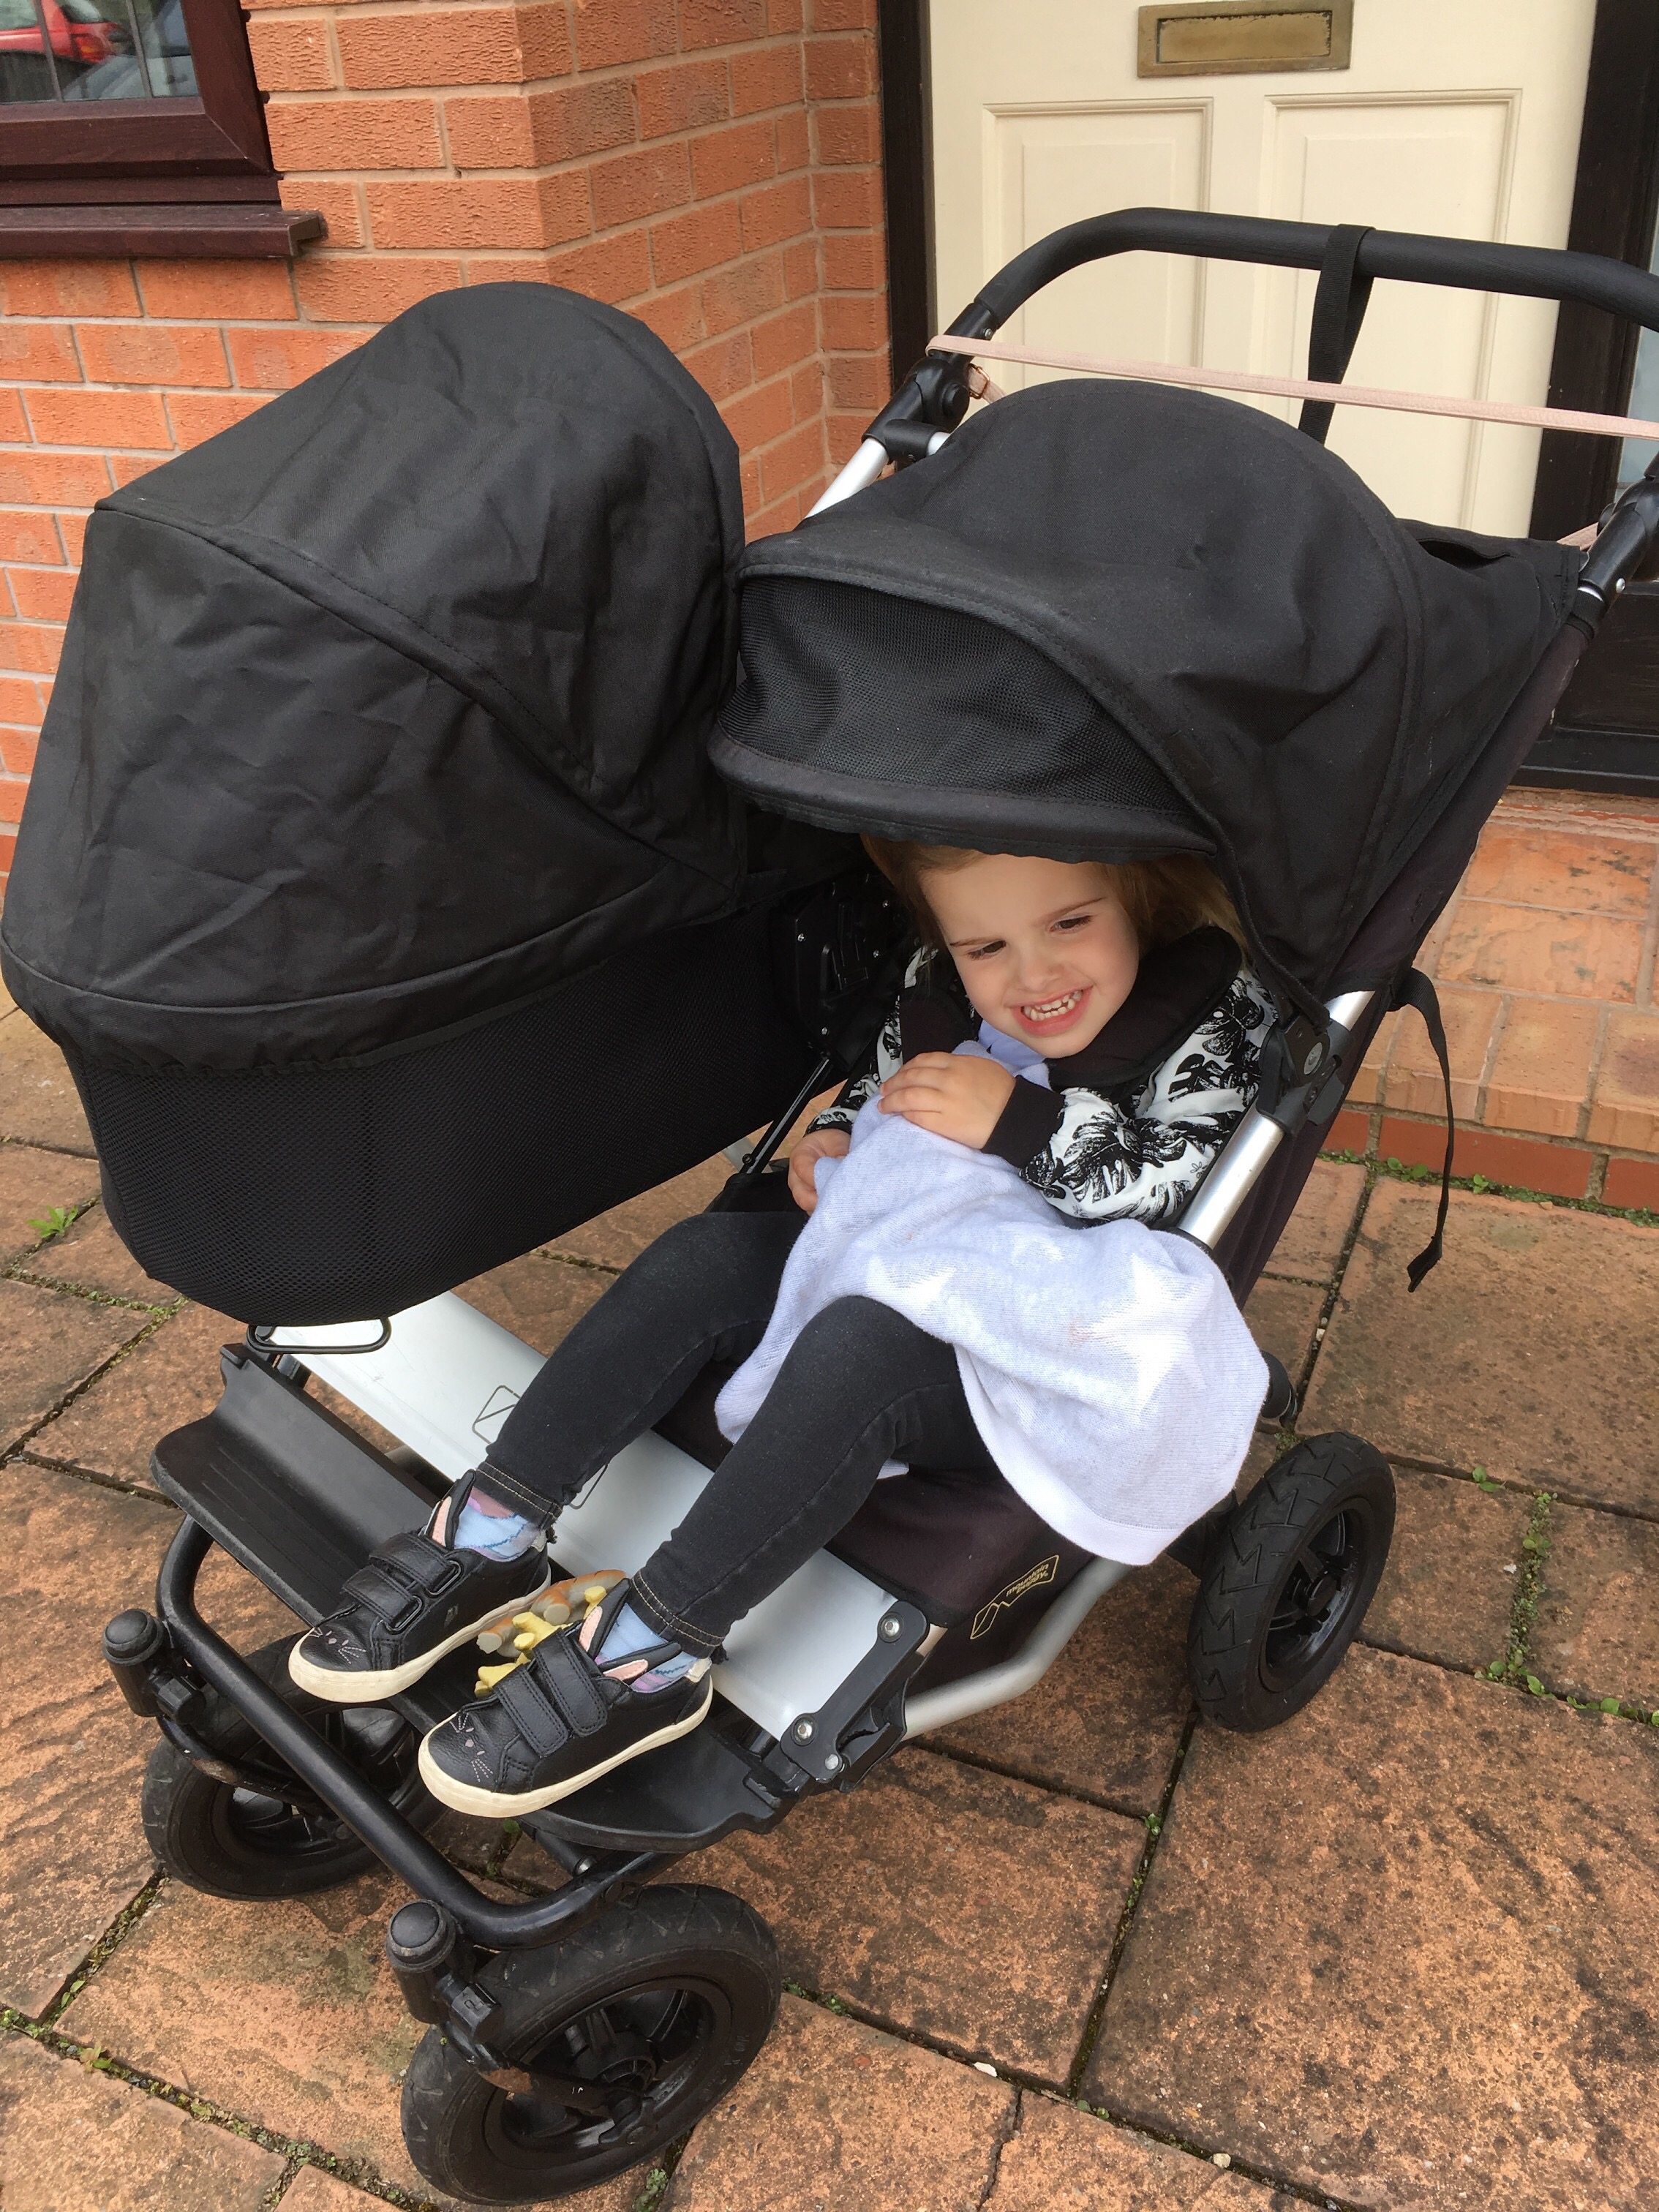
It was in really good condition and I was really pleased with it but the hoods were a bit faded (which seems ridiculously common on these particular buggies, practically all the second hand ones I looked at had faded hoods). They didn't look too bad though until I bought a nearly new Carrycot Plus for it from a friend and the contrast between the old hoods and the new carrycot hood was suddenly a lot more noticeable.
I looked into getting replacement hoods but as it's an older model pushchair I couldn't get two the same colour (although the team at Mountain Buggy were really helpful) so I started to wonder if there was a way to revamp the old ones.
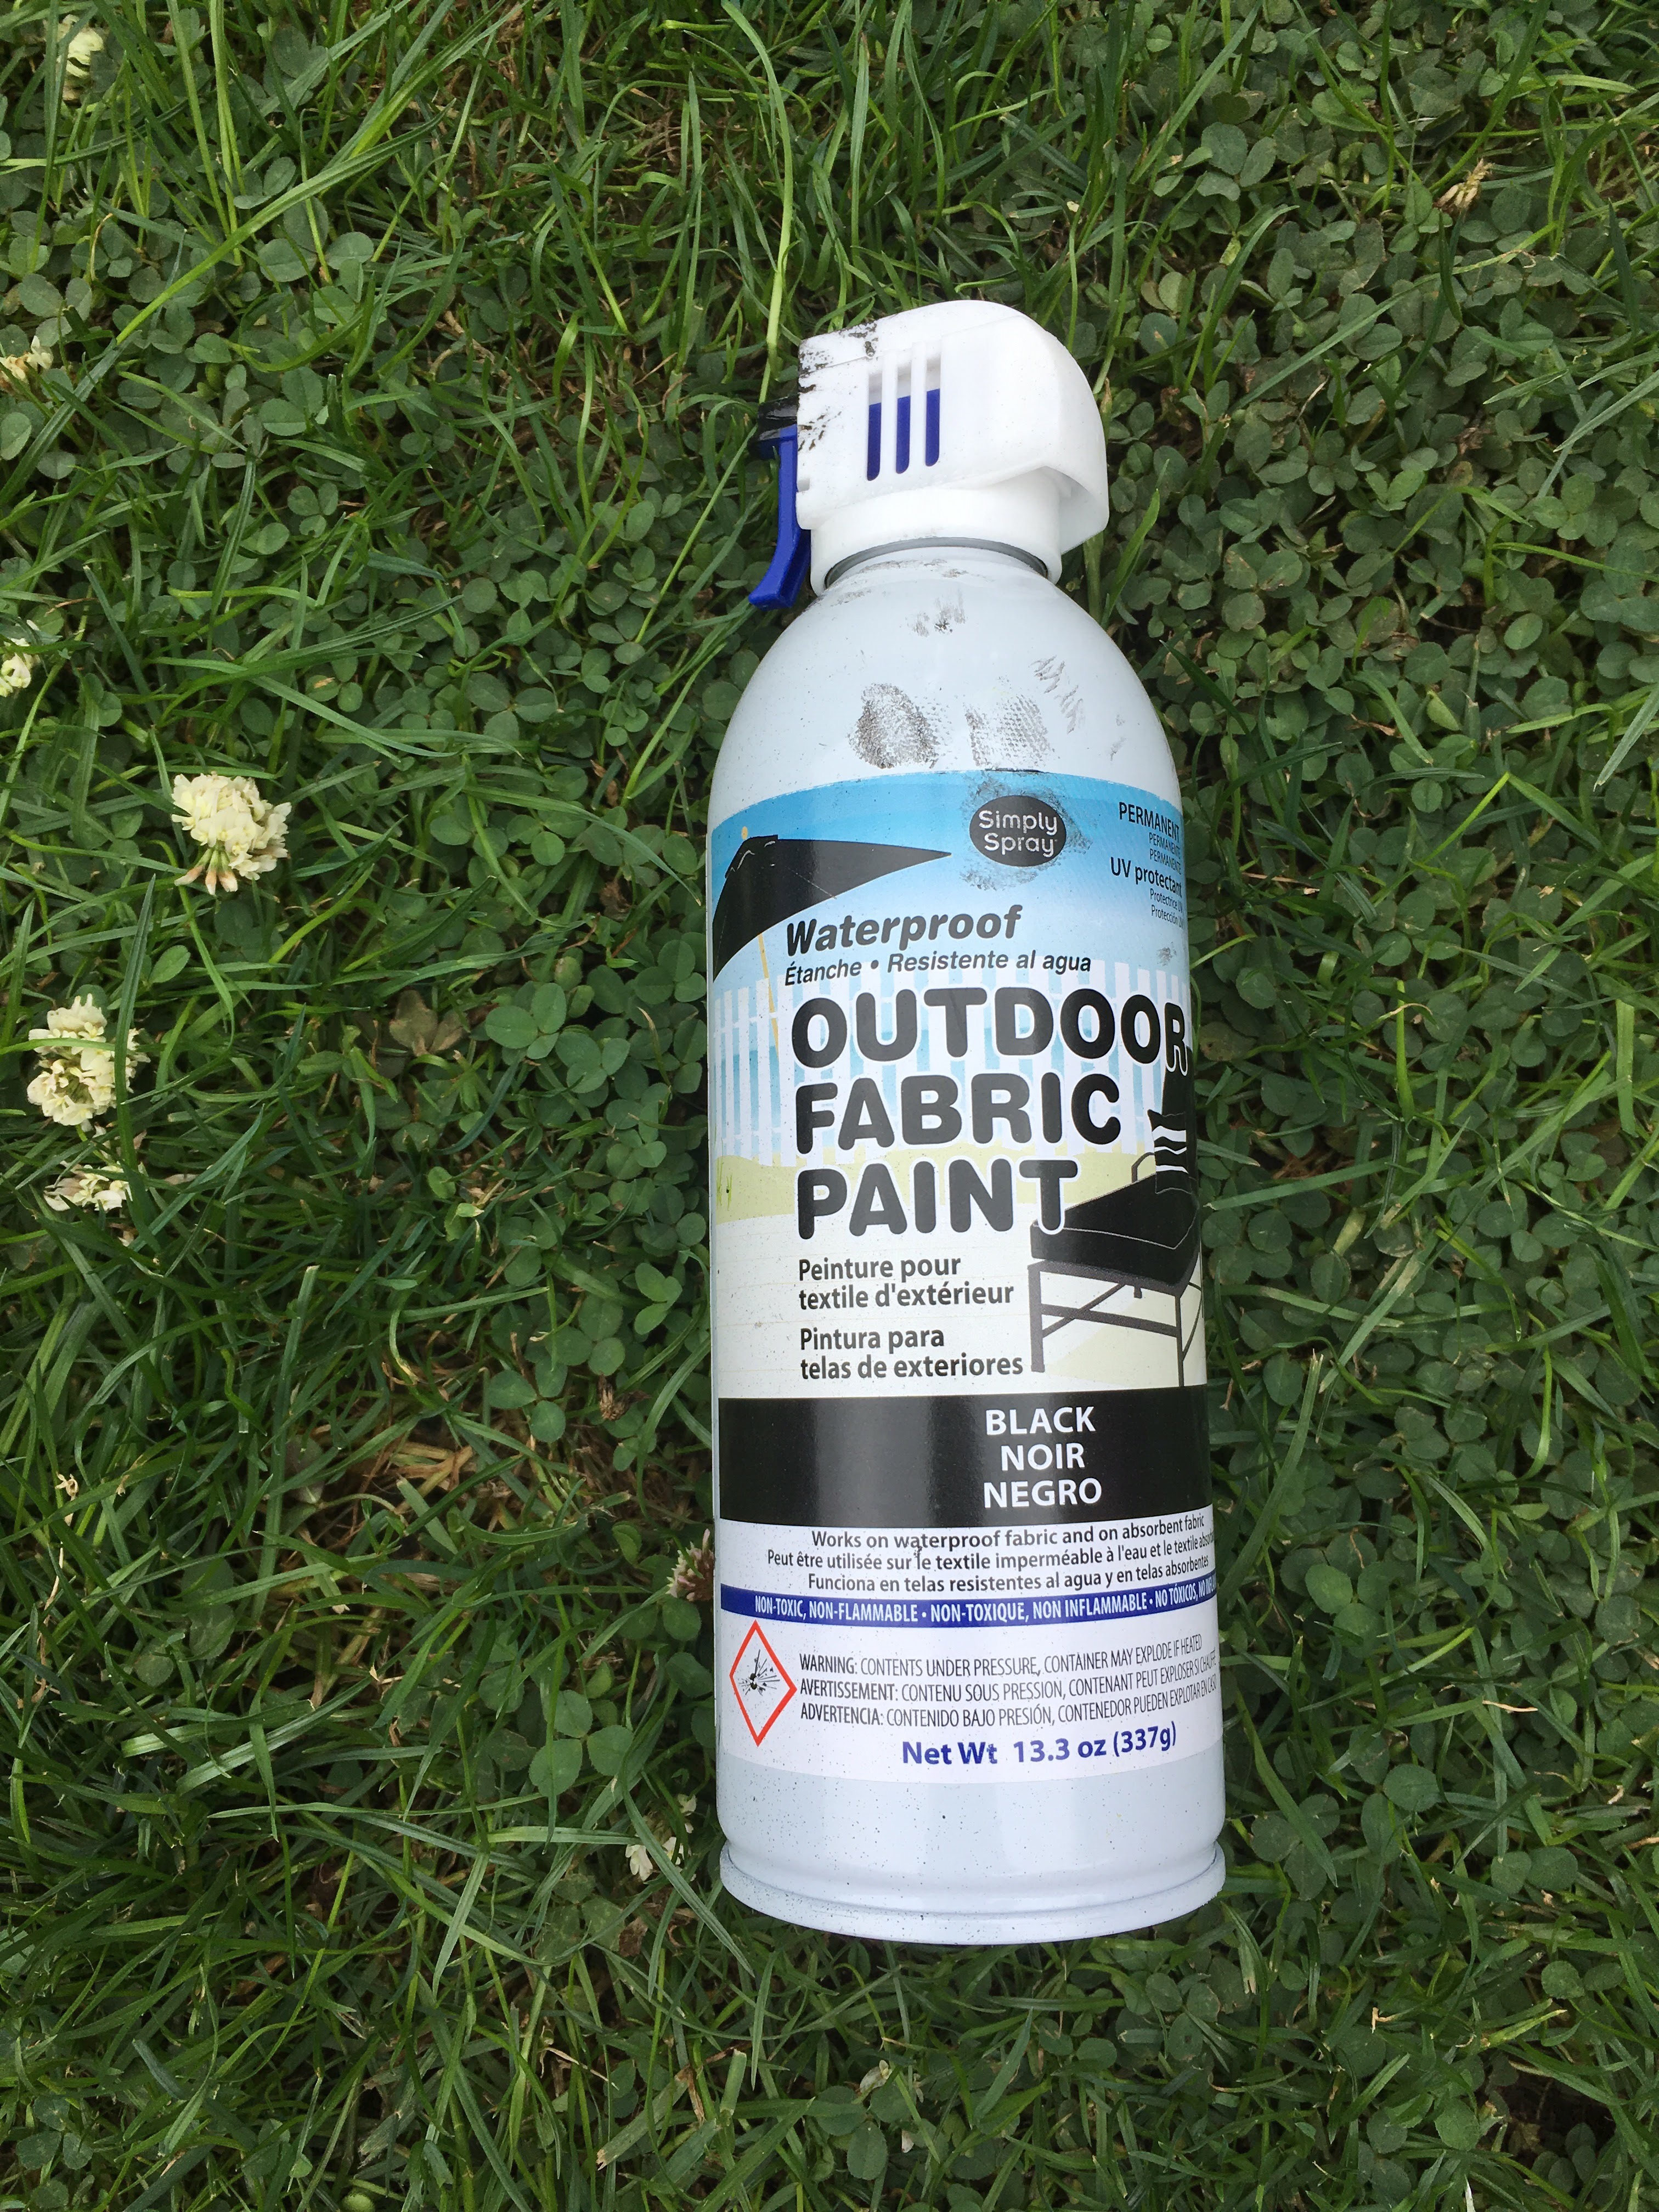
After a bit of research (googling counts as research, right?) I came across this article and after their advice decided to buy Simply Spray Outdoor Fabric Paint which comes in lots of different colours.
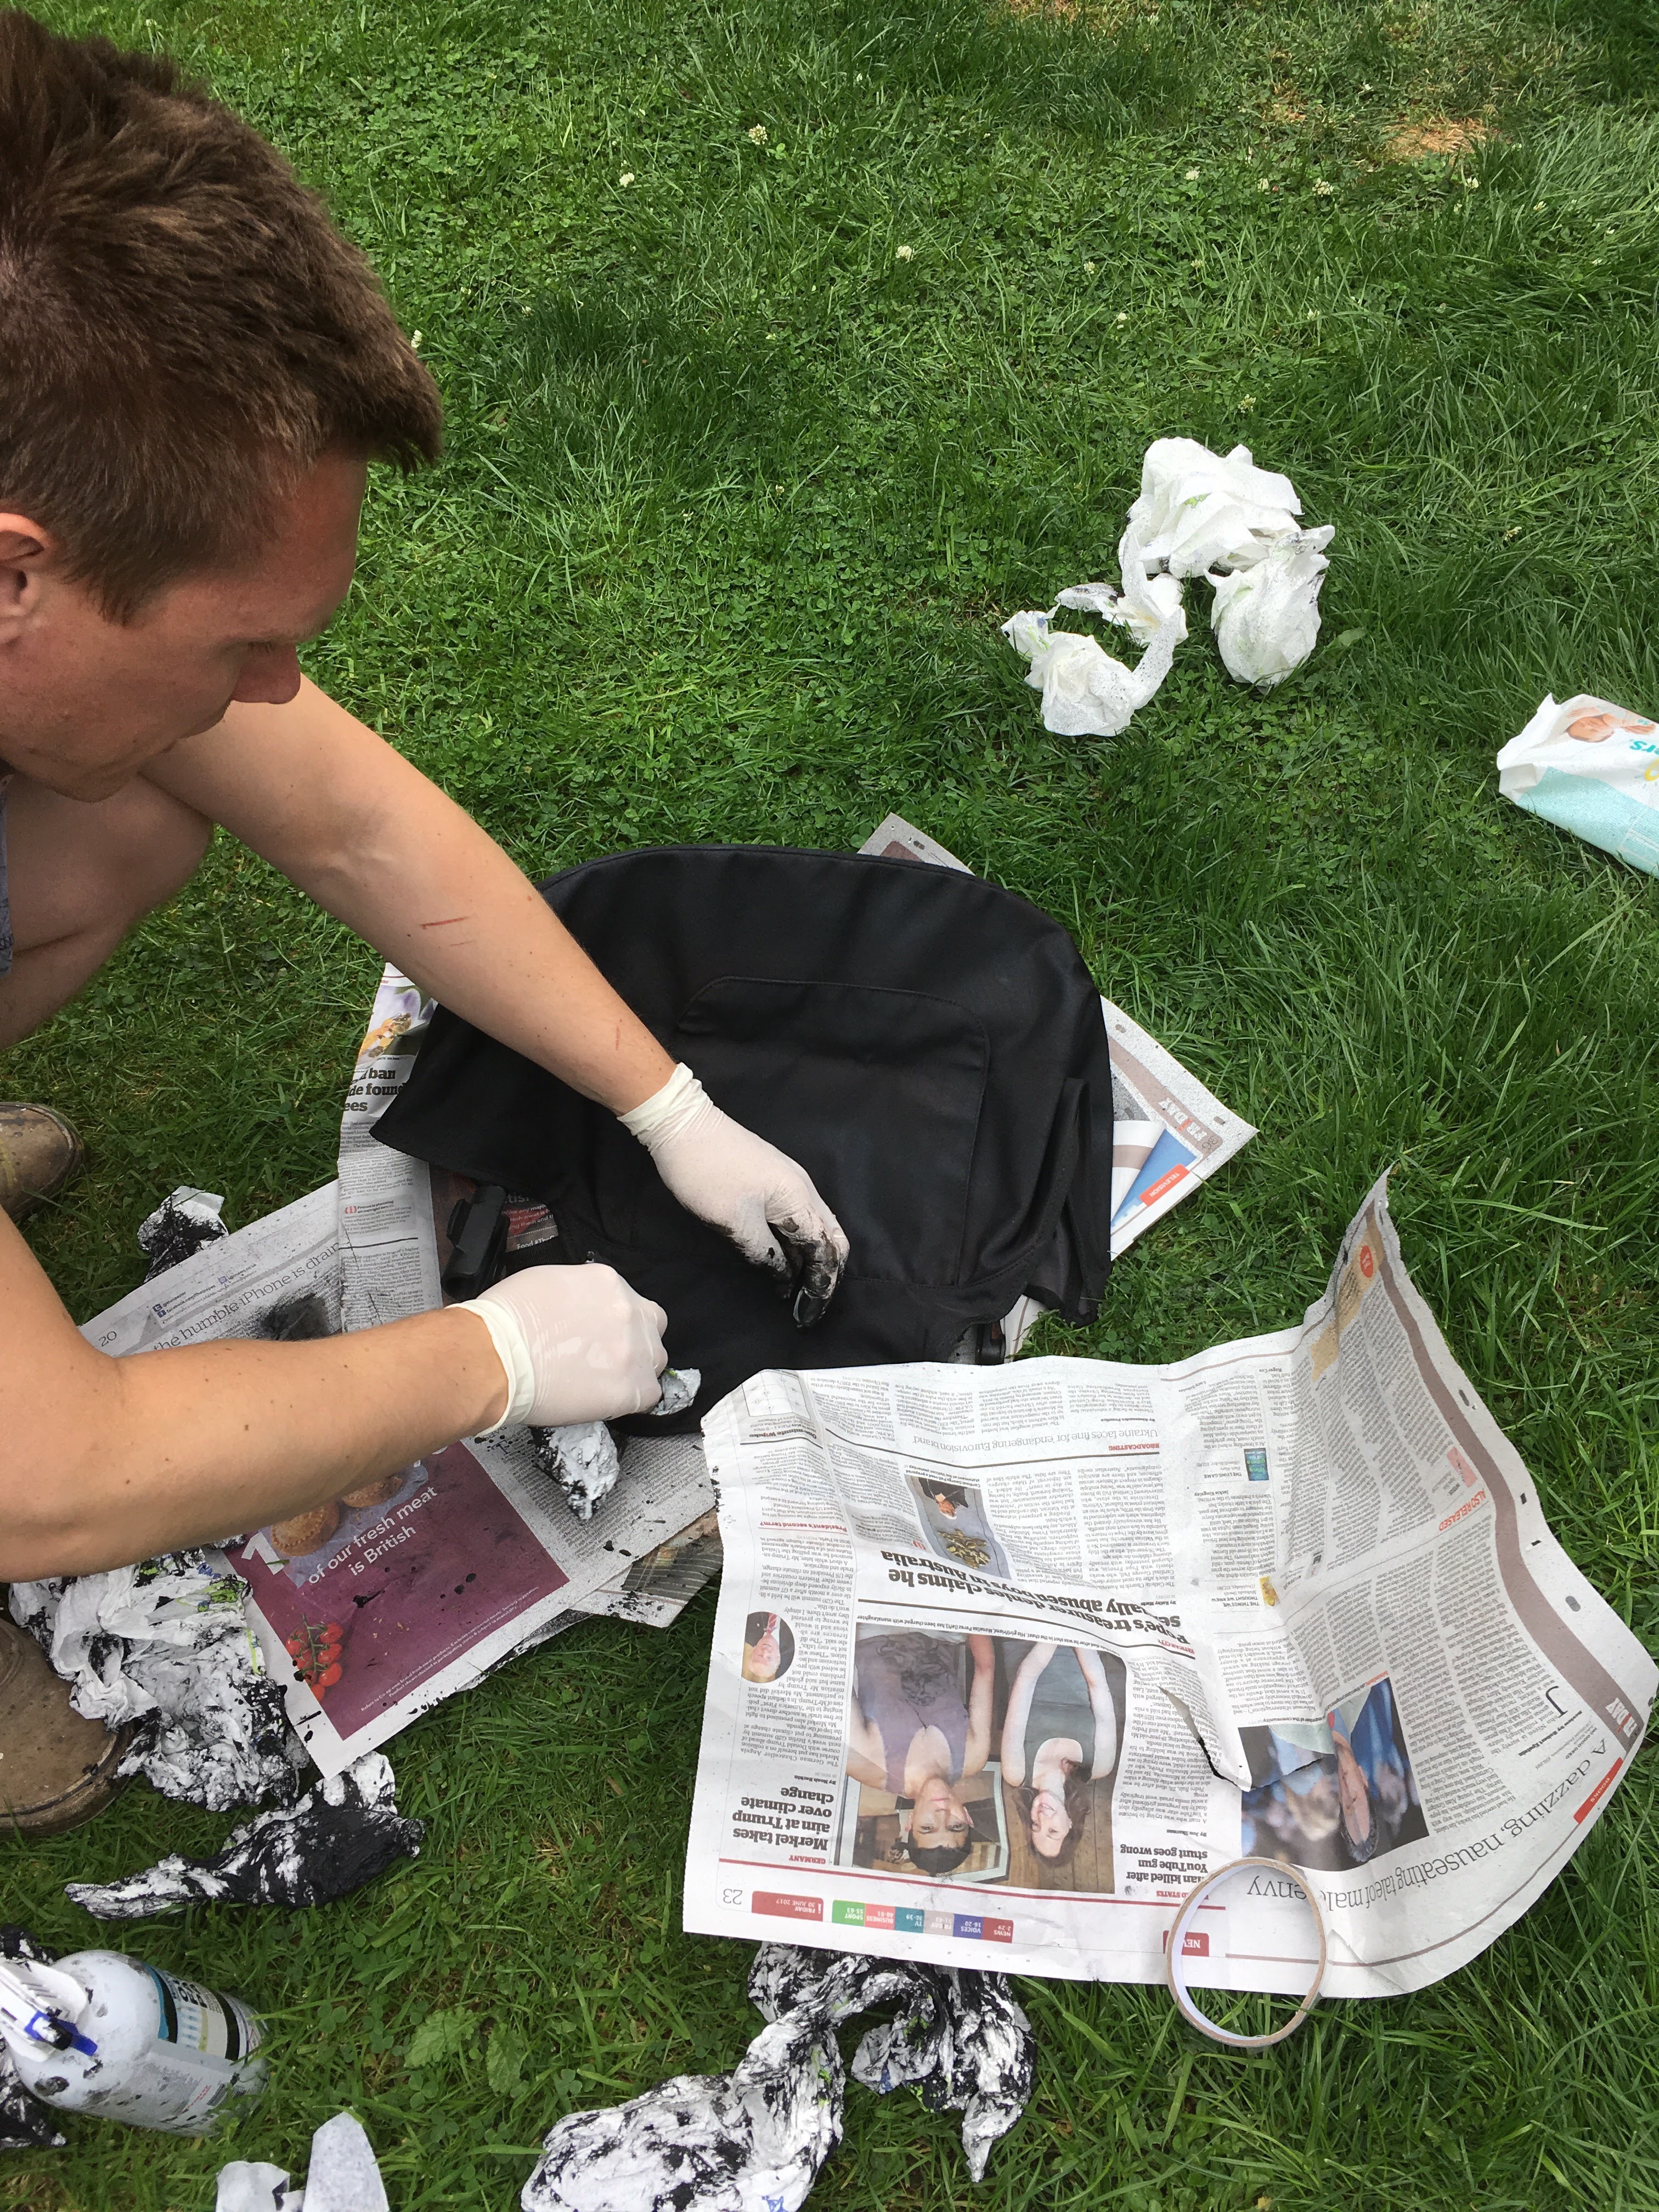
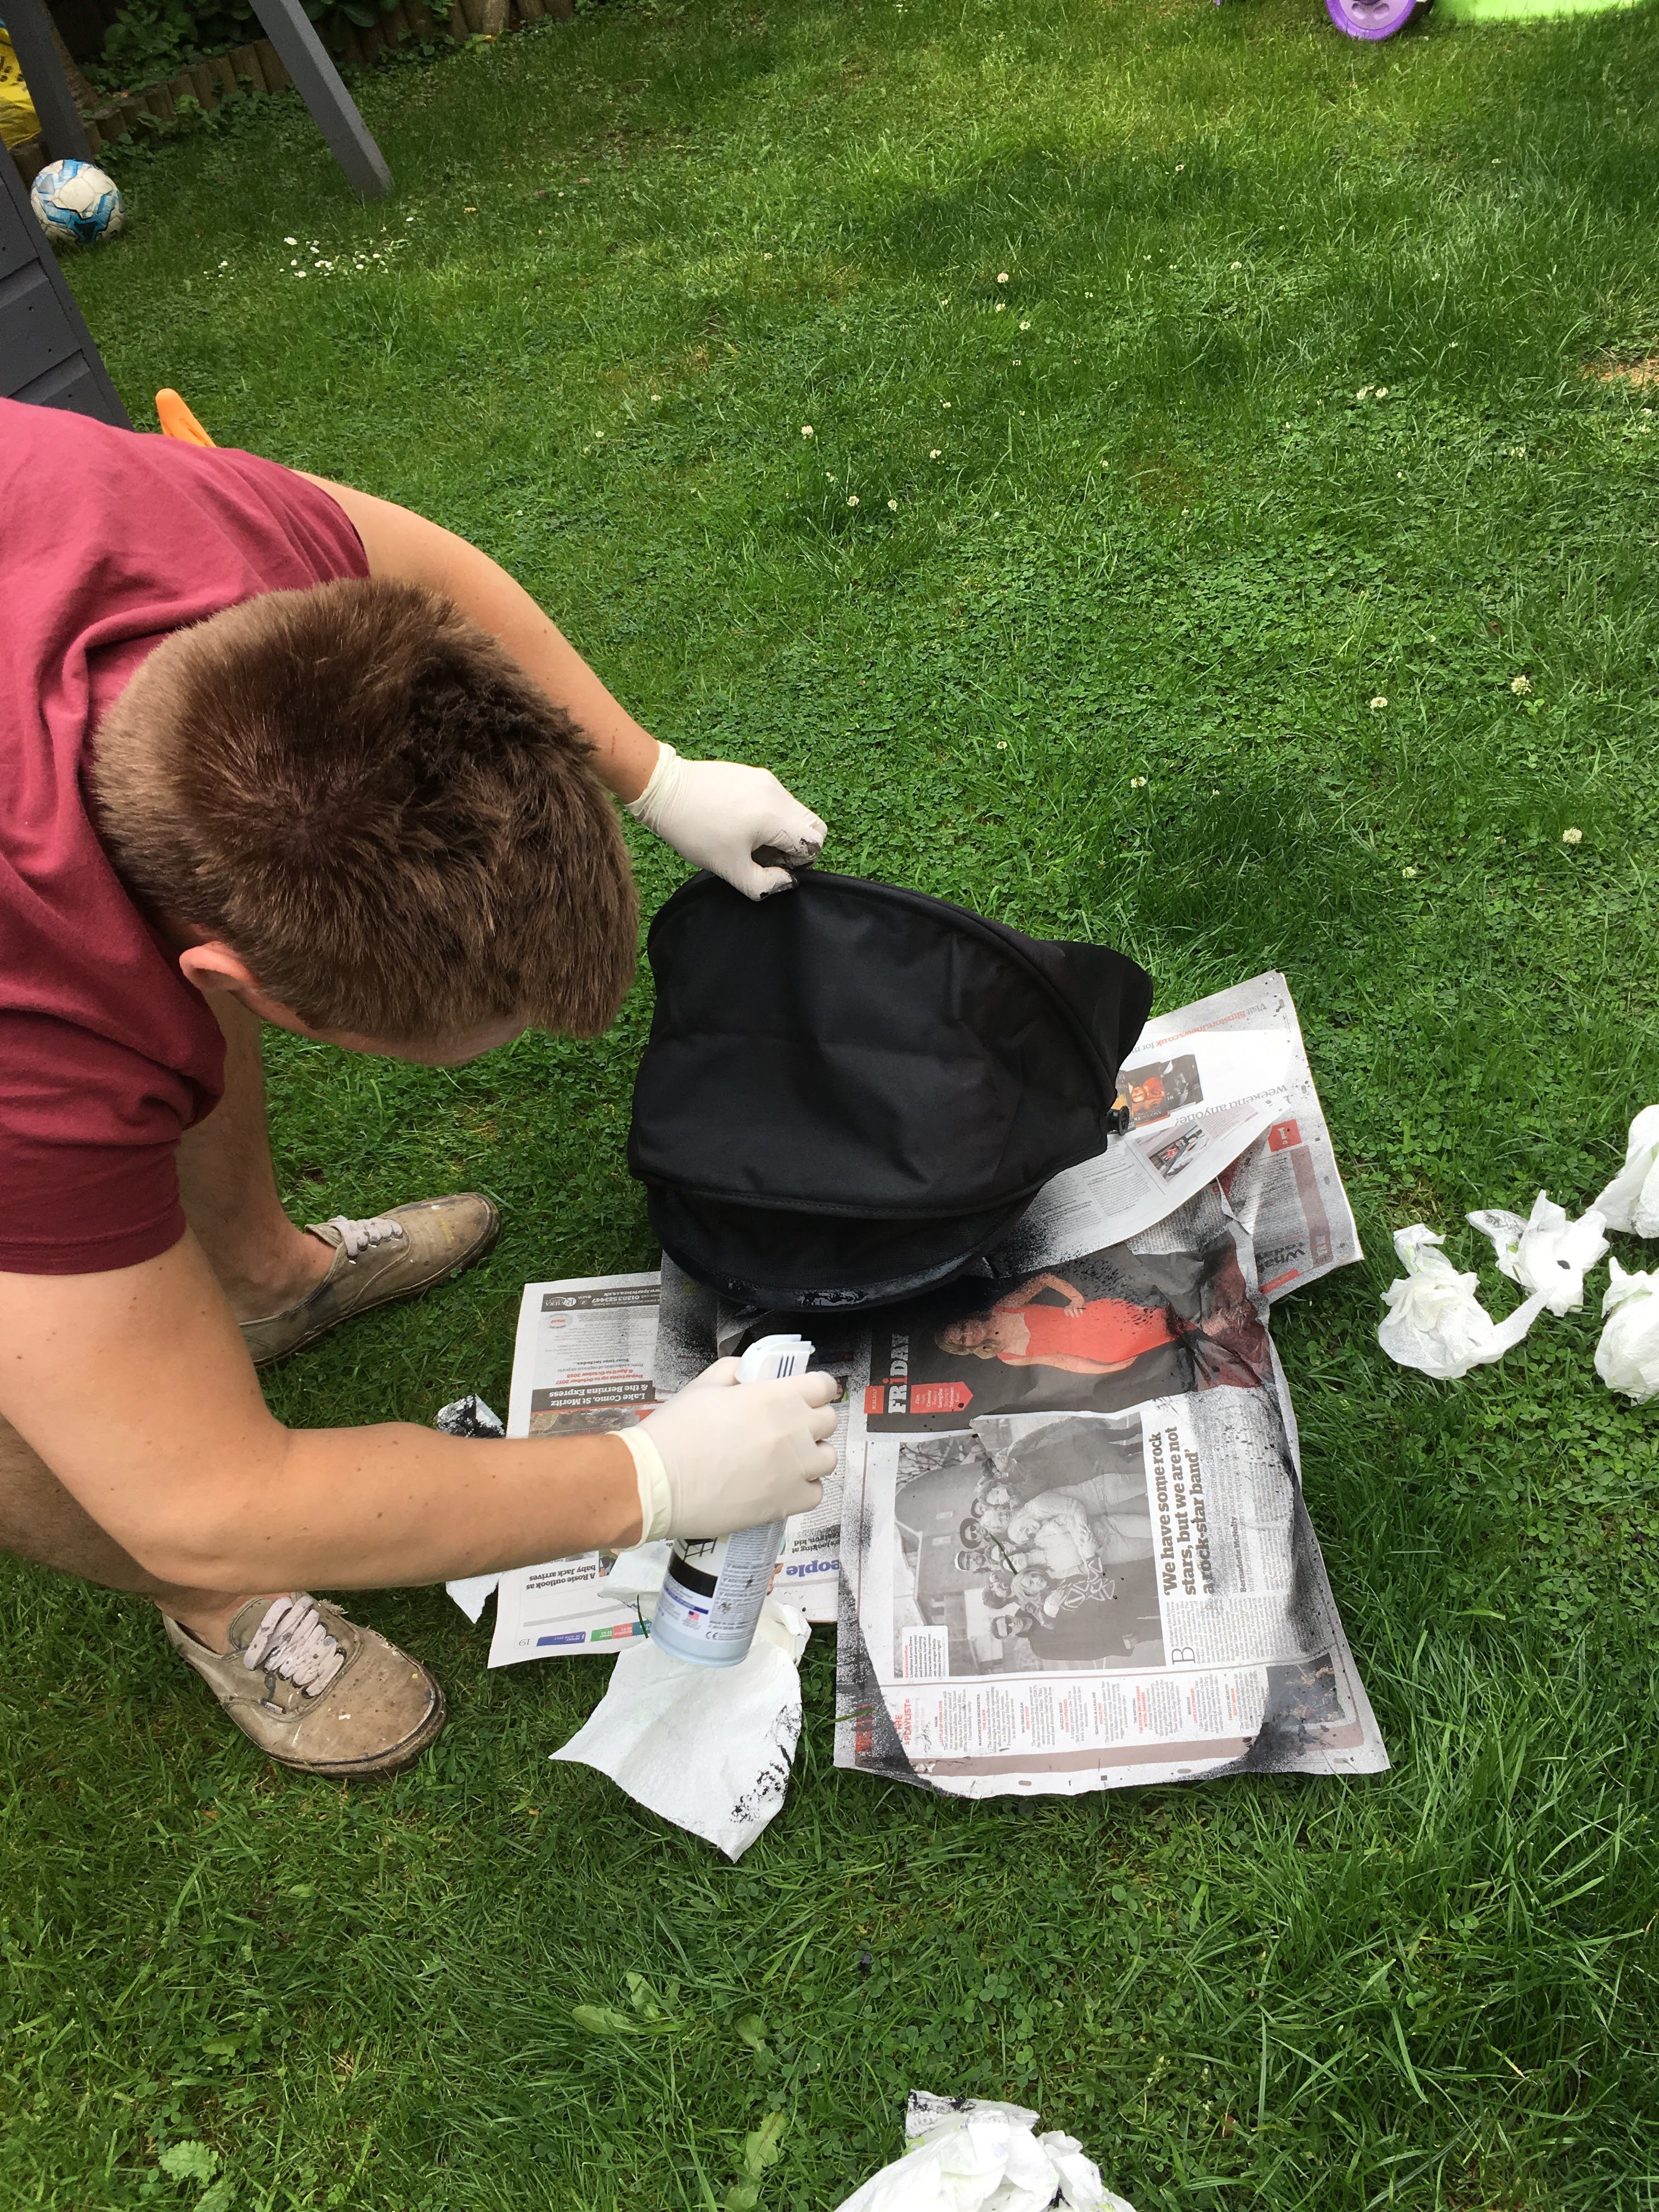
Two days before I was being induced (because we work best under pressure!) we decided to give it a go and so Mr T made a start. It was quite messy, definitely an outdoor task and would recommend you use gloves, but it was very easy. You literally just spray it on, wipe off any excess (we just used kitchen roll for this) and leave it to dry. It was easier to work on quite small areas at a time rather than just going for the whole thing in one go as you do need to wipe any excess off really quickly. The trickiest bits were around the see-through window panels but I just covered these with a piece of kitchen roll folded to size and stuck on with tape and they were fine (they have the odd little speckle on them now but it's not noticeable).

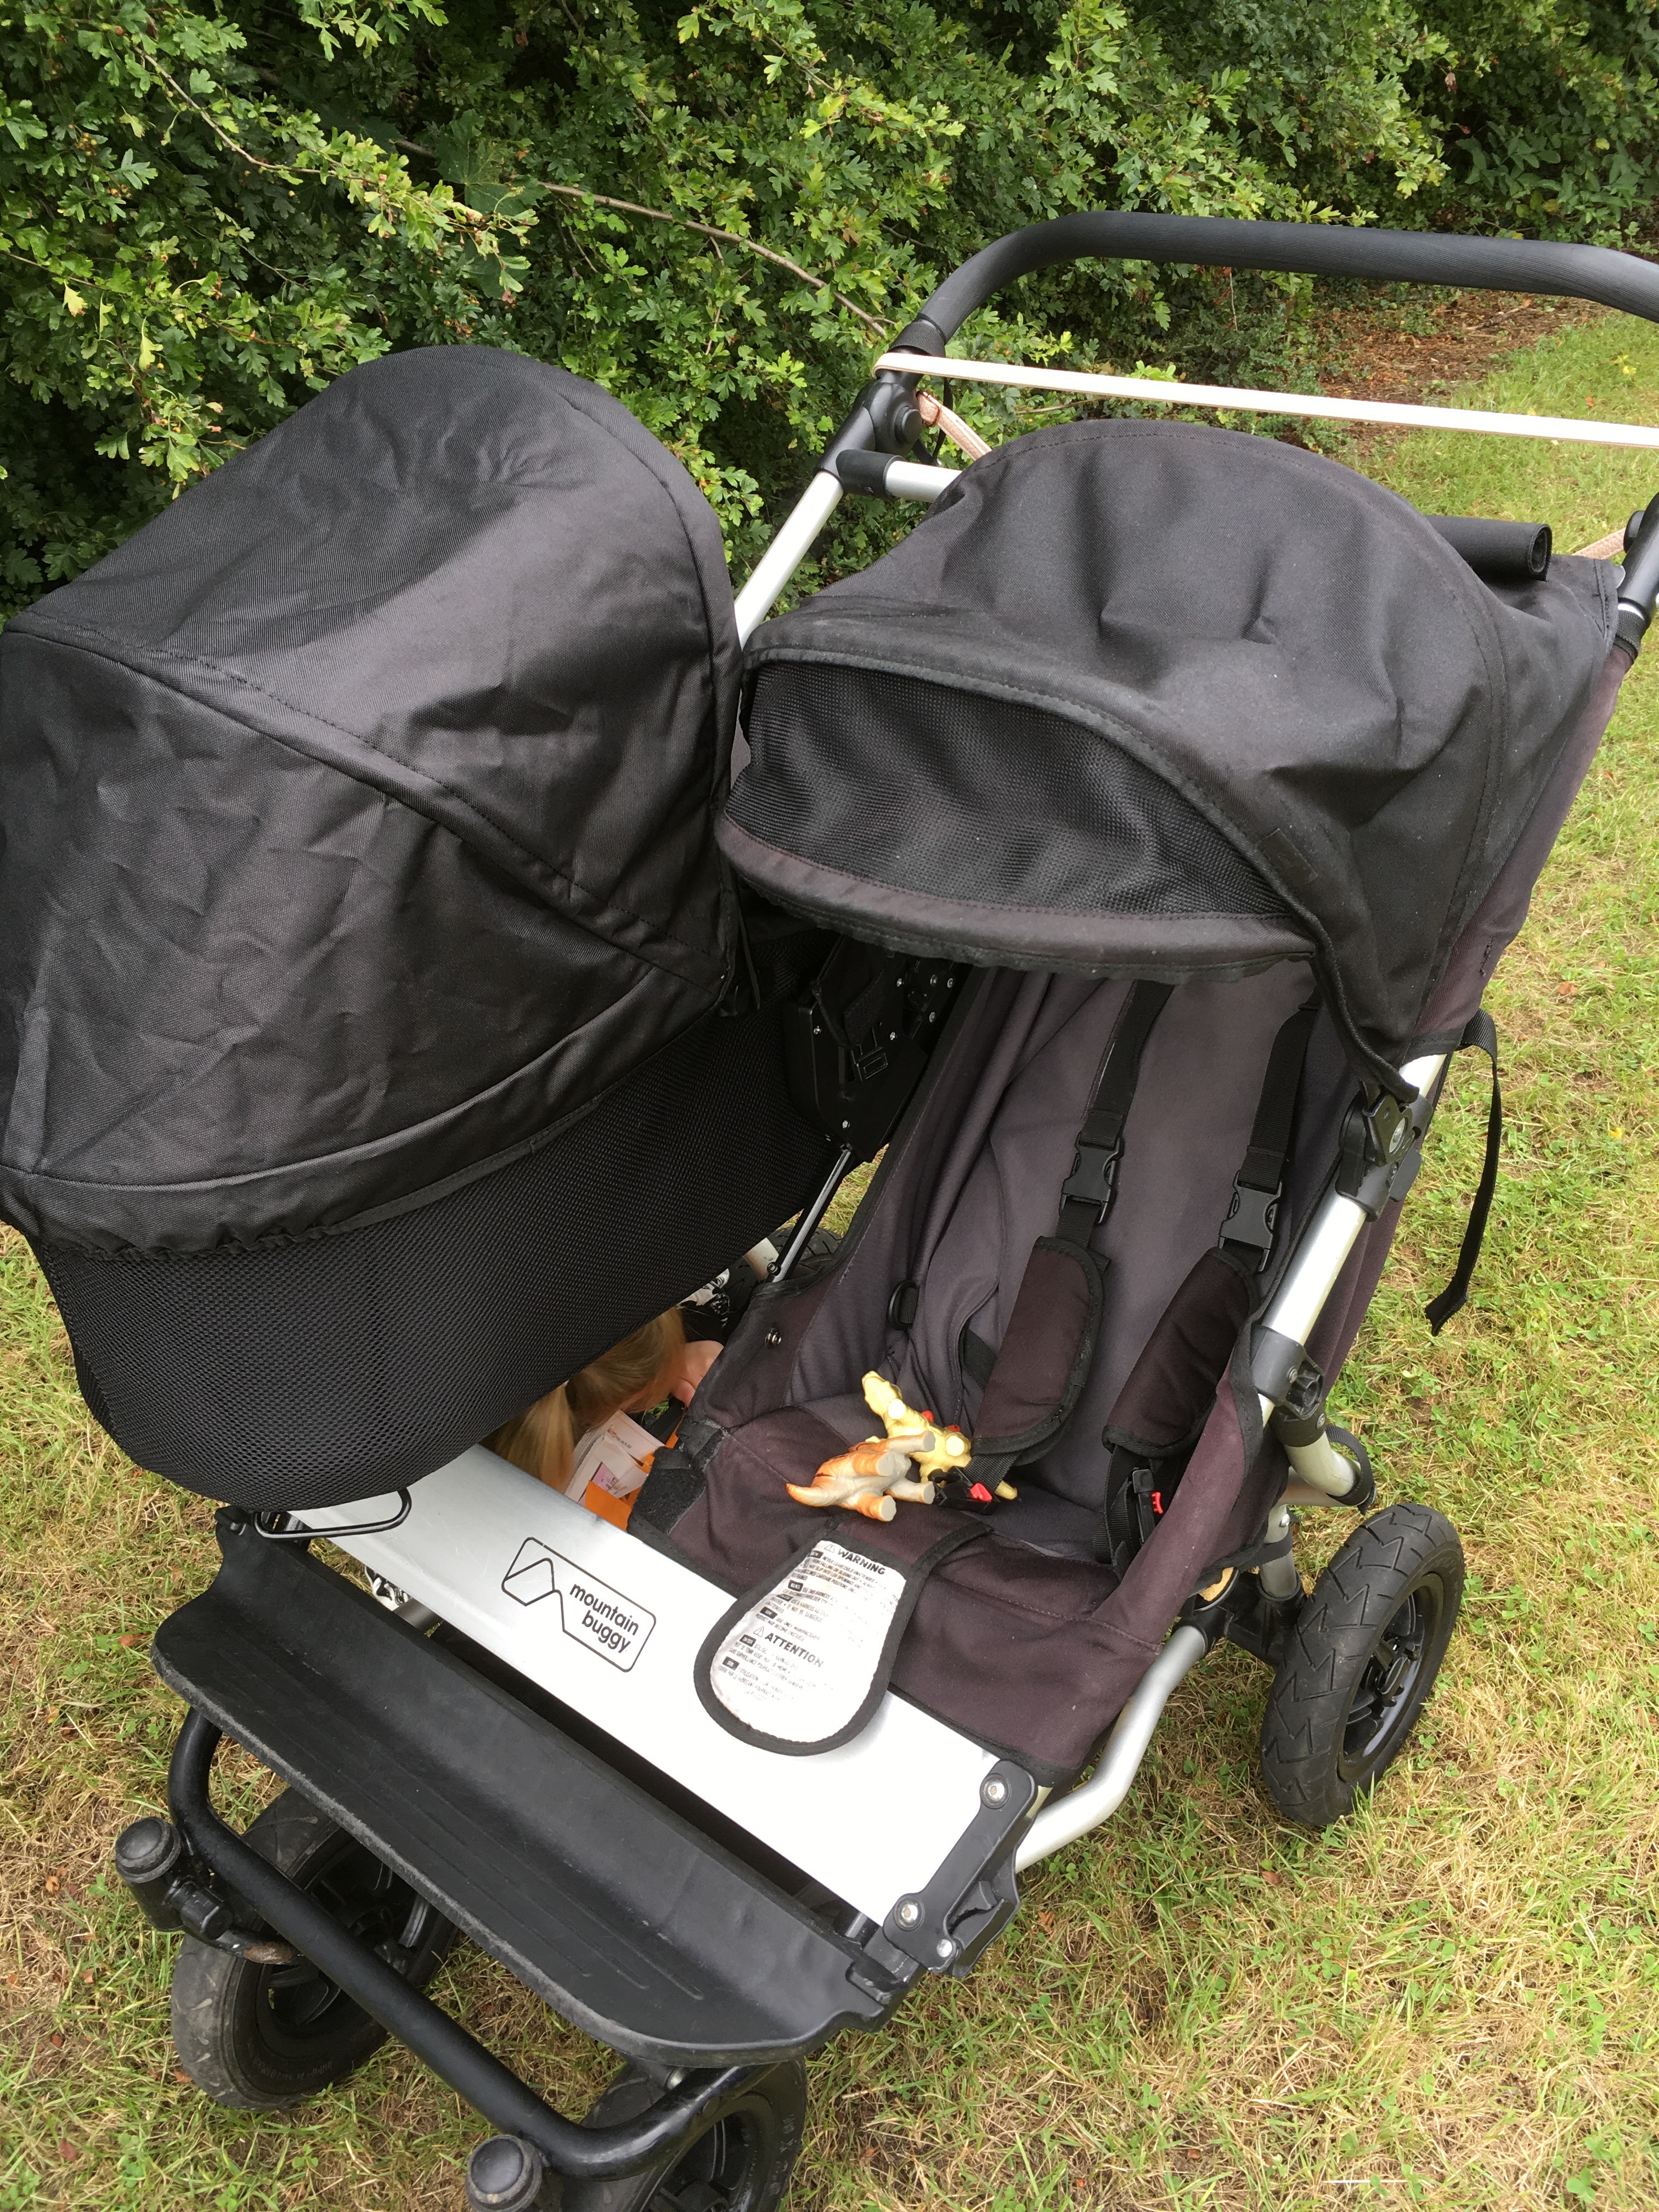
I should have taken more before photos but it was only once we started and it looked like it was actually going to work that I thought about doing a post about it (yep, I'm a rubbish blogger!) Here is one hood before and one hood after which really shows you the difference.

As you can see the fading was a brownish colour but it covered really well and we were really pleased with the results. It was a really warm day and so they were pretty much dry after a few hours. They were a bit tacky to the touch for about 48 hours so if possible I would recommend doing this when you don't need to use the pushchair straight away but although they felt just slightly sticky none of the paint transferred to your hands or came off so it wasn't really a problem.
Although we only used the paint for the hoods, if you needed to do the seats etc I think it would work just as well. One can of paint was plenty for two hoods (we did inside of the hoods as well as outside) so would be enough for a single pushchair hood and seat, but if you wanted to do a full double pushchair (hoods and seats) you might need two cans of paint.
I am so pleased with the finished result, it's really improved the overall look of the pushchair for a very small cost and minimal effort.